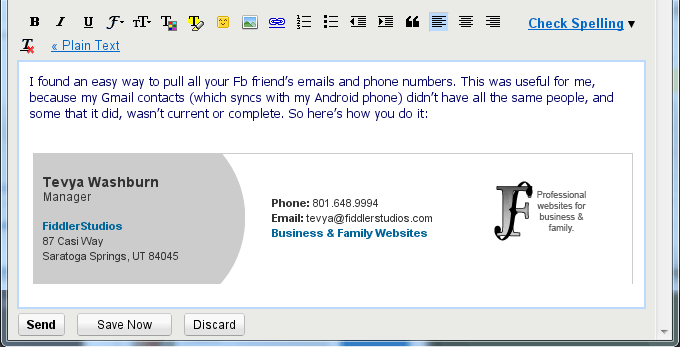
LinkedIn offers a sleek tool that lets users create stylish, custom email signatures. This feature is perfect for adding a polished and professional touch to your email communications, making your messages stand out while also providing key information about you and your business. Whether it’s your job title, company details, social media links, or contact information, LinkedIn’s email signature tool lets you pack all of it into a neat, visually appealing signature.
However, there’s a catch: LinkedIn’s email signature tool is primarily designed for desktop clients like Outlook or Thunderbird. This can be inconvenient if you’re among the many professionals who rely on Gmail as your primary email client. While it might initially seem like LinkedIn’s tool won’t work in Gmail, there’s a workaround that lets you seamlessly integrate your LinkedIn-created signature into Gmail’s signature editor.
Table of Contents
ToggleThe Problem: Desktop-Only Email Signature Compatibility
LinkedIn’s email signature tool is intuitive and easy to use, but it was built with desktop email clients in mind. So, if you’re using Outlook or Thunderbird, you’re all set. You can simply follow LinkedIn’s instructions, copy the generated signature, and paste it into your email client’s settings. But, for Gmail users, the challenge lies in the fact that Gmail’s signature editor doesn’t offer the same level of formatting flexibility as these desktop clients. It’s primarily designed for simple text or HTML. Despite this limitation, you don’t need to abandon your dreams of having a slick LinkedIn-generated signature in Gmail. It’s completely possible to transfer the signature over with just a few extra steps.The Solution: How to Use LinkedIn Signatures in Gmail
The good news is that it’s quite simple to incorporate your stylish LinkedIn signature directly into Gmail, allowing you to maintain a consistent brand image across all email communications. Here’s a step-by-step guide to doing it:- Create Your Signature in LinkedIn: Begin by visiting LinkedIn’s email signature creation tool. Fill out all the necessary information you want to include, such as your name, title, company, phone number, and social media links. You can also upload any logos or images that represent your business. Make sure to take your time here—this signature will be a crucial part of your professional image.
- Customize Your Signature: Once you’ve added all your details, play around with the design options until you’re satisfied with the layout. LinkedIn’s tool provides a few options for layout, font, and color schemes, so you can find something that aligns with your branding.
- Copy Your Signature: When your signature is ready, switch to the preview mode. In the preview, click and drag your mouse over the entire signature to select it. This step is crucial because it ensures you select all the formatted elements of your signature. Press CTRL+C (or CMD+C on a Mac) to copy the entire selection.
- Paste into Gmail: Open your Gmail account and navigate to Settings by clicking the gear icon in the top-right corner. From there, select See all settings and scroll down to the Signature section. If you already have a signature created, simply click into the editor box. Otherwise, create a new signature entry. Then, press CTRL+V (or CMD+V on a Mac) to paste your LinkedIn signature directly into the editor.
- Save Changes: Before you leave the settings page, make sure you save your changes. Scroll to the bottom and click Save Changes to lock in your new signature.
Tips for a Successful Transfer
If your pasted signature doesn’t look perfect on the first try, don’t be discouraged. The transfer process can sometimes introduce unwanted formatting issues, extra spaces, or missing links. Here are some troubleshooting tips to get it right:- Double-Check Your Selection: When you’re copying from LinkedIn’s preview, make sure you’re selecting the entire signature, not leaving out any small details like social media icons or images.
- Use Simple HTML: Gmail’s editor prefers simpler HTML formatting. If your signature contains complex elements or styles, consider simplifying the design to ensure it renders correctly in Gmail.
- Test Your Signature: After pasting the signature, send a test email to yourself or a colleague. This will help you catch any formatting issues that might appear on the receiving end.


Would like to use such a signature