Have you ever visited a website that took forever to load? One of the main reasons websites load slowly is because of the size of the images they use. Here’s where WebP comes in. But what exactly is WebP, and why is it something you should consider using on your WordPress site? Let’s dive in and find out.
What Is WebP?
WebP is a modern image format developed by Google. It allows you to save images in both lossy (which means some quality is lost) and lossless (which means no quality is lost) formats. The biggest advantage of WebP is that it makes images much smaller in file size compared to traditional formats like JPEG or PNG, without sacrificing quality. This means your images look just as good but load much faster.
Now, why should you use WebP on your WordPress site?
There are several compelling reasons:
Faster Website Speed
The number one reason to use WebP is that it helps your website load faster. Since WebP images are smaller in file size, they take less time to load. This is crucial because websites that load quickly provide a better experience for your visitors.
Improved SEO
Google loves fast websites. By using WebP and improving your site’s speed, you’re also boosting your SEO (Search Engine Optimization). This means your site is more likely to rank higher in search results, helping more people find your content or products.
Enhanced User Experience
No one likes waiting for slow websites to load. By ensuring your images and pages load quickly, you’re improving the overall experience for your visitors. This not only makes them happier but also increases the likelihood they’ll stay on your site longer or make a purchase.
Saves Storage and Bandwidth
WebP images are smaller, which means they take up less storage space on your hosting server. Additionally, they consume less bandwidth when people visit your site. This can be particularly beneficial if you have a hosting plan with limited resources.
Broad Compatibility
While WebP is a relatively new format, it’s supported by most modern web browsers. This means the majority of your site’s visitors will be able to view your images without any issues.
So, how can you start using WebP on your WordPress site?
Thankfully, it’s pretty straightforward. Many WordPress image optimization plugins now offer WebP conversion features. These plugins automatically convert your uploaded images to the WebP format and serve them to visitors with compatible browsers. By converting your images to WebP format, you can make your WordPress website faster and more efficient. But how do you convert your images to WebP? All you need to do is install one of these plugins and let it handle the rest. Let’s explore some of the best ones available.
1. ShortPixel Image Optimizer
ShortPixel is a powerful, easy-to-use plugin that not only converts your images to WebP format but also optimizes them to ensure they’re as small as possible without losing quality. It’s an excellent choice for bloggers, photographers, and e-commerce site owners who want to improve their website’s performance and SEO.

2. Imagify
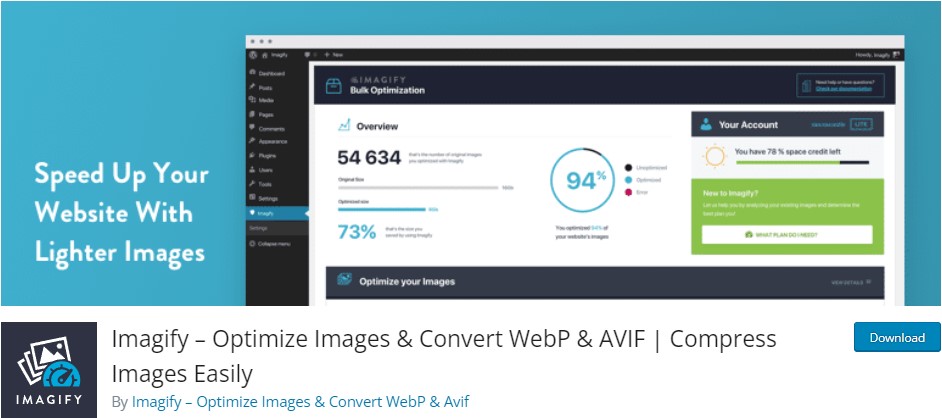
Imagify is another fantastic plugin that offers image optimization and conversion to WebP format. With its user-friendly interface, you can easily optimize images in bulk or individually. It also integrates seamlessly with other WordPress tools and plugins, making it a versatile option for any website.
3. EWWW Image Optimizer
EWWW Image Optimizer automatically optimizes new images uploaded to your site and can also optimize all the images that you have already uploaded. It converts images to the best format, including WebP, and even allows you to adjust the quality level to find the perfect balance between quality and file size.
4. Smush
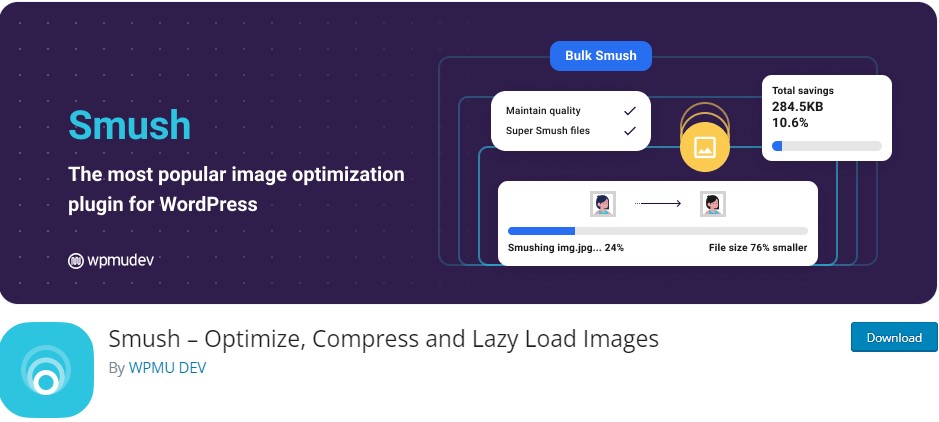
Smush is popular for its ability to compress and optimize images without a visible loss in quality. It also offers lazy loading, which means images are only loaded when they’re about to enter the viewport. This feature, combined with WebP conversion, can significantly speed up your website.
5. Optimole
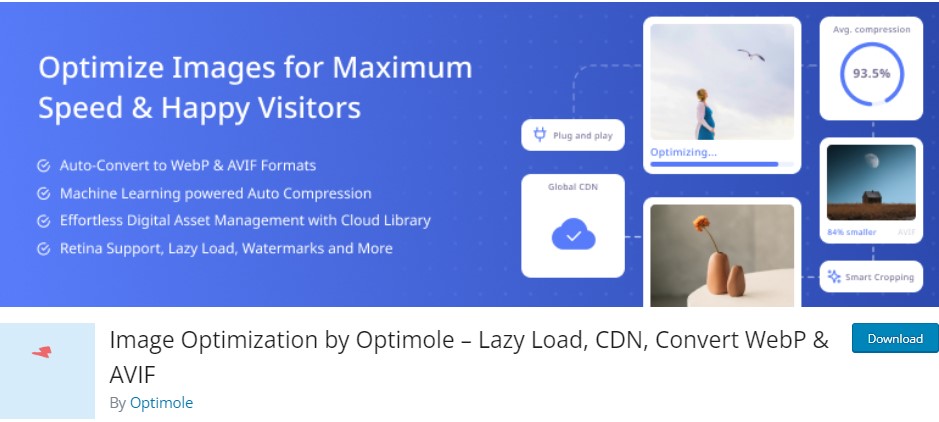
Optimole takes a comprehensive approach to image optimization. It not only converts your images to WebP but also serves them from a global content delivery network (CDN) to ensure fast loading times for users around the world. Its real-time image optimization feature automatically adjusts image size based on the user’s device, further improving your site’s performance.
What Challenges Might You Face When Implementing WebP in WordPress and How to Overcome Them?
Are you thinking about using WebP images on your WordPress site to make it faster? WebP is a modern image format that provides superior lossless and lossy compression for web images. This means your images can look good and load quickly, which is great for keeping visitors happy and improving your site’s SEO. But, adding WebP to WordPress isn’t always straightforward. Let’s explore some common challenges you might face and how to overcome them.
1. Browser Compatibility
One big challenge is that not all web browsers support WebP. While most modern browsers do, some users might still use older versions that don’t. This means those visitors might not see your images at all.
How to Overcome: Use a WordPress plugin that serves WebP images to browsers that support it and falls back to traditional formats like JPEG or PNG for browsers that don’t. Plugins like ShortPixel, Imagify, or Jetpack can automatically handle this for you.
2. Hosting Support
Not all WordPress hosting providers support WebP or might not have the necessary tools for converting your images to WebP format.
How to Overcome: First, check with your hosting provider about WebP support. If they don’t support it, consider using a WordPress plugin that converts images to WebP on the fly. Alternatively, you can manually convert your images to WebP using online tools before uploading them to WordPress.
3. WordPress Theme and Plugin Compatibility
Some WordPress themes and plugins may not work well with WebP images, especially if they have specific functions related to image handling.
How to Overcome: Before fully committing to WebP, test your site thoroughly in a staging environment. Check if your theme and plugins handle WebP images correctly. If you encounter issues, contact the theme or plugin developer for support or look for alternatives that offer WebP compatibility.
4. SEO Considerations
While WebP can improve site speed and performance, making sure search engines properly index your WebP images is crucial. Improper implementation can lead to SEO issues.
How to Overcome: Use proper image SEO practices such as adding descriptive file names, alt text, and ensuring your site’s XML sitemap includes your images. Some SEO plugins for WordPress can help ensure your WebP images are indexed and ranked by search engines.
5.Technical Knowledge
Implementing WebP might require a bit of technical knowledge, especially if you’re manually converting images or adjusting server settings.
How to Overcome: If you’re not comfortable with technical details, consider using a WordPress plugin that automates the process of creating and serving WebP images. These plugins typically offer a straightforward setup and don’t require deep technical knowledge.
How to Enable WebP Images in WordPress Without a Plugin
Step 1: Check Your Hosting Environment
First, ensure your web hosting supports WebP images. Most modern hosting providers do, but it’s always good to check. You might need to access your hosting control panel or contact customer support to confirm this.
Step 2: Convert Your Images to WebP Format
Before uploading to WordPress, you’ll need to convert your images from formats like JPEG or PNG to WebP. You can use online tools like Squoosh or offline software like Adobe Photoshop for this purpose. Simply open your image, select the WebP format, and adjust the quality settings to your preference.
Step 3: Upload WebP Images to WordPress
Once your images are converted, you can upload them to your WordPress site just as you would with any other image file. WordPress supports the uploading of WebP images natively since version 5.8.
Step 4: Modify Your .htaccess File for WebP Support (Optional)
If you want to ensure that WebP images are served to browsers that support them while keeping alternative formats for browsers that don’t, you can add some code to your .htaccess file. This step is a bit technical and involves editing a crucial file on your server, so proceed with caution.
Here’s a simple example you can add to your .htaccess file:
Step 5: Testing
After setting everything up, it’s crucial to test your website to ensure that WebP images are being served correctly. You can use the browser’s developer tools to inspect the network requests and confirm that WebP images are loaded.
Switching to WebP images without a plugin can significantly improve your WordPress site’s speed and performance. By following the steps above, you can make your website faster and more appealing to both users and search engines. Remember, the key to a successful website is not just great content but also a great user experience, and fast-loading images are a big part of that.
Conclusion
While moving to WebP on your WordPress site offers many benefits, including faster loading times and improved performance, you might face some challenges along the way. Browser compatibility, hosting support, theme and plugin compatibility, SEO considerations, and the need for technical knowledge are among the hurdles to consider. However, with the right tools and strategies, you can overcome these challenges and successfully implement WebP, making your website faster and more efficient.
__ __


0 Comments